
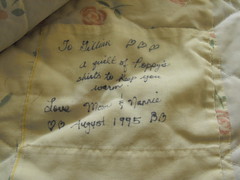
This is a quilt that my mom made me out of shirts that my grandpa wore, as well as my sundresses from when I was little. It hasn’t worn very well over time, especially certain squares. I’ve been working on patching these squares that are ripped and torn, and thought I’d share with you the quick way of mending quilts that my mom taught me. This method works best with quilts that are quilted all the way through, and that are pieced squares, and basically involves patching another square on top of a damaged square.
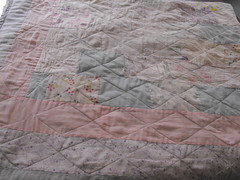
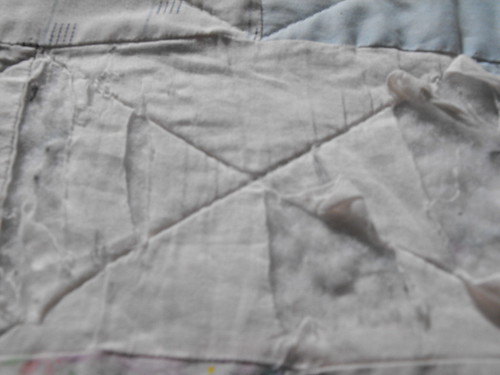
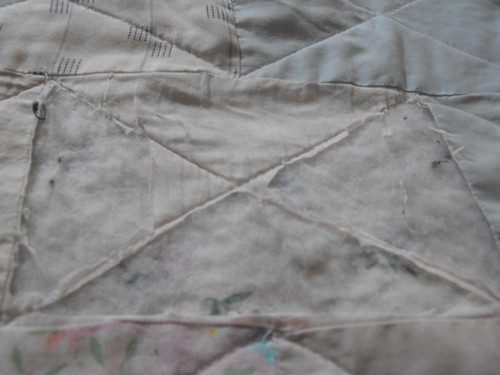
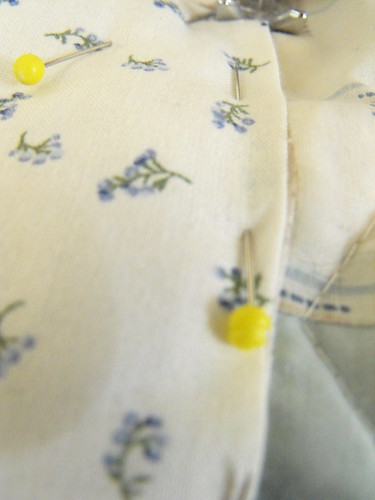
Here is the patch I’m going to replace—the pink fabric on the quilt is particularly shredded from washing, general wear and tear, and from my pup Jesse , who shredded a few of the squares and batting when he was in his naughty puppy phase.
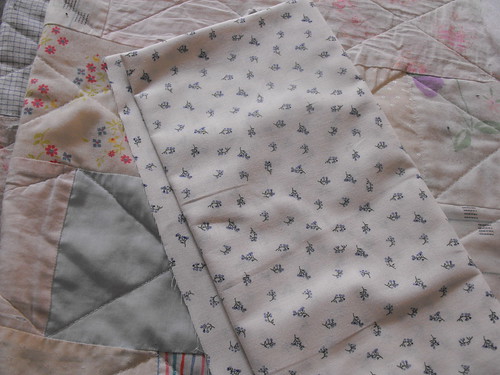
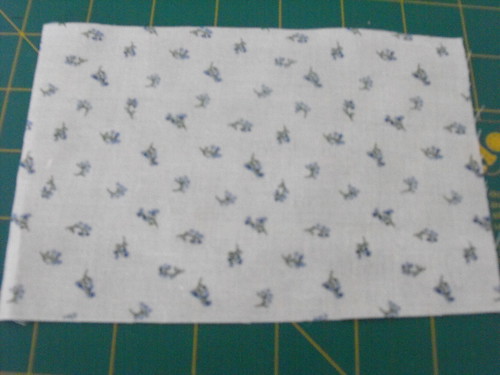
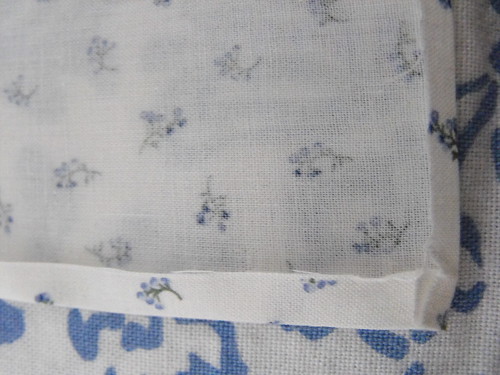
And here’s the fabric I’ll be using for the patch –a pretty close match, yes? Thank you sale bin at Fabricland!
What you need:
Transparent quilting ruler (I used a square one)
Polyester batting
Fabric to match quilt
Sewing machine
Iron
Rotary cutter
Self healing mat
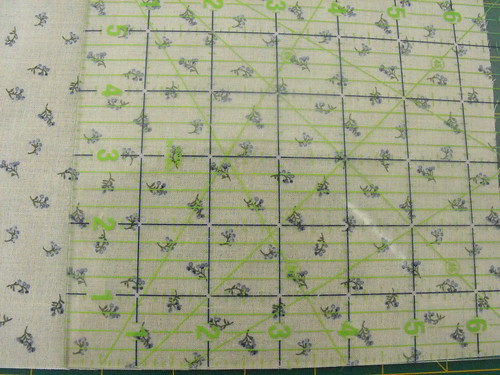
Start by measuring the size of the square to replace using your transparent quilting ruler.
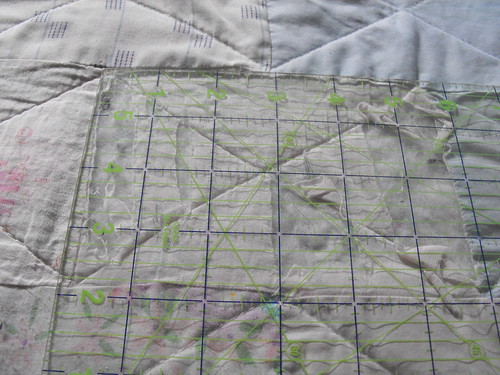
In this case, the square I need to replace is 6 inches by 4 inches. (15.2 cm x 10.2 cm)
Cut away any damaged bits of fabric
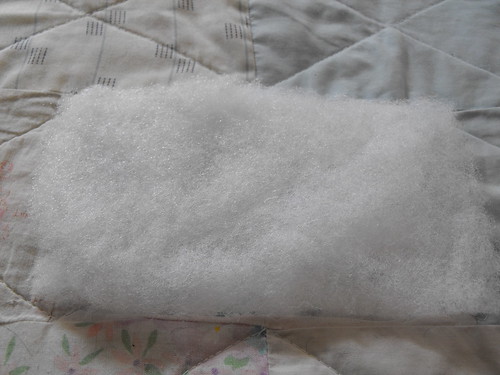
Cut a piece of batting that is ¼ inch (0.6cm) smaller on all sides than the size of the square –in this case, 5 ½ by 3 ½ inches (14cm x 8.9cm) and place on top of the square.
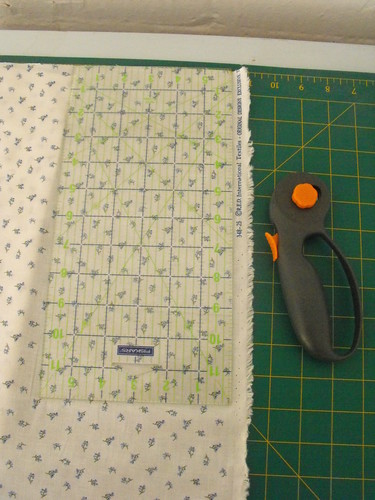
Add ¼ of an inch (0.6cm) to the size of the square to replace to determine the size of the patch to cut —this means that I need to cut a fabric square that is 6 ½ by 4 ½ inches. (16.5 cm x 11.4cm)
Using your rotary cutter and self healing mat, cut this square out of the fabric you chose. Feel free to also measure and use scissors, I just can’t cut a straight line to save my life, and rely greatly on my rotary cutter and ruler!
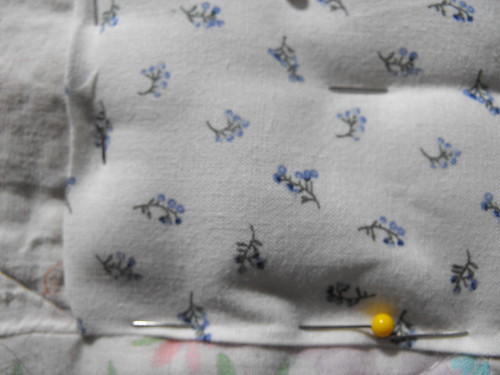
Here is my square, all cut out:
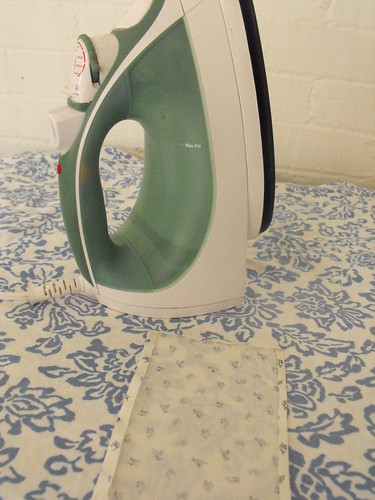
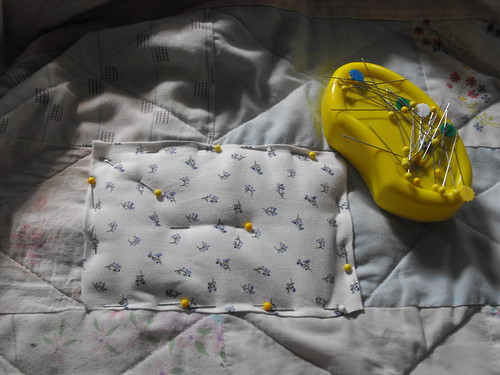
Take your iron, and press roughly ¼ of an inch (0.6cm) in on each of the four sides of the square
You may want to clip the extra triangle of fabric where the corners meet
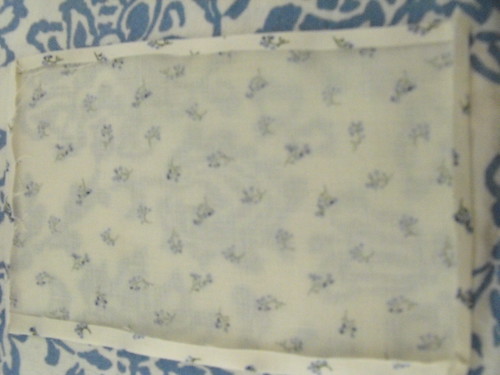
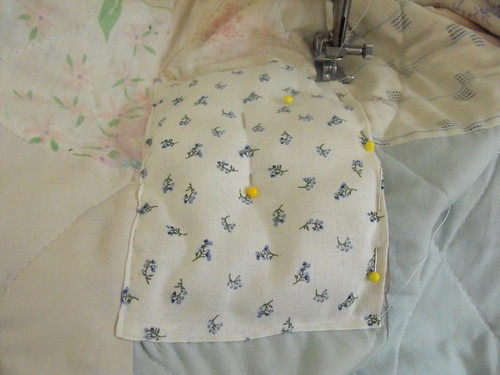
Take your ironed square, place over the batting, and pin the square and batting to the quilt top.
Time to sew the square on—I had to bunch up my quilt quite a bit to be able to sew the square on the sewing machine. If you prefer, you can also hand sew it.
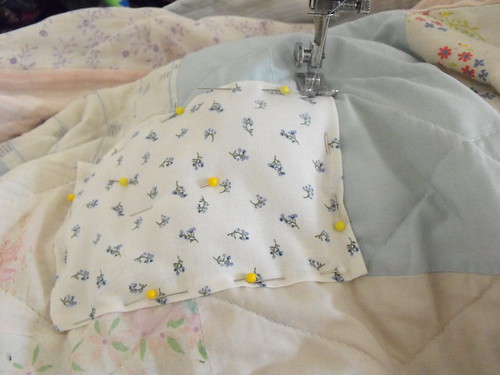
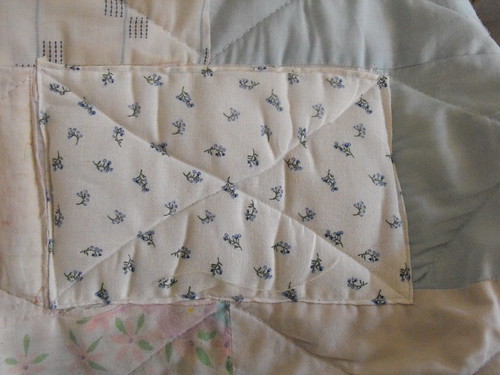
I sewed around the edges of the square, as well as sewing an “x” so that my patch matched all the squares on the rest of my quilt. I used a straight stitch and a fairly small stitch length.
Here’s how my square turned out –one down, about fifteen to go! Thanks for sharing in the fun!
♥ Craftzilla
What a great tip and a wonderful way to salvage a worn but beloved old quilt.
ReplyDeleteThanks so much :)
ReplyDeleteGillian
This is great! I recently bought a really neat quilt duvet cover (had never even heard of that before!) A few of the squares have shredded and I'm going to fix it with your method! Thanks!!
ReplyDeleteAwesome! Glad you will be able to fix up your new duvet cover!
ReplyDeleteGillian
http://craftzillaconquerstheworld.blogspot.com