
Jam making has made a comeback! In recent years, the back-to-basics food movement has inspired a whole new generation of jam makers to carry on this age old tradition. It was something that was always a part of my childhood – nothing tastes sweeter than homemade jams!
Many people think that jam making is pretty tricky and time consuming. In fact, it takes very little effort and no specialist equipment . Plus, homemade preserves make the best edible gifts – perfect with Christmas just around the corner!
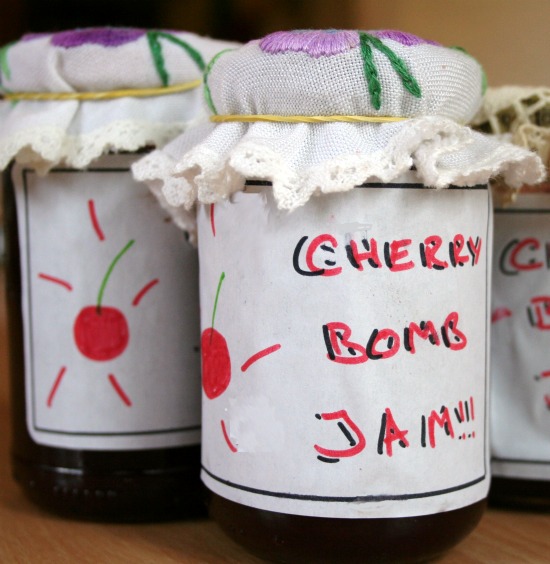
Here’s my recipe for one of my favourite ever jams – Cherry Jam
Ingredients:
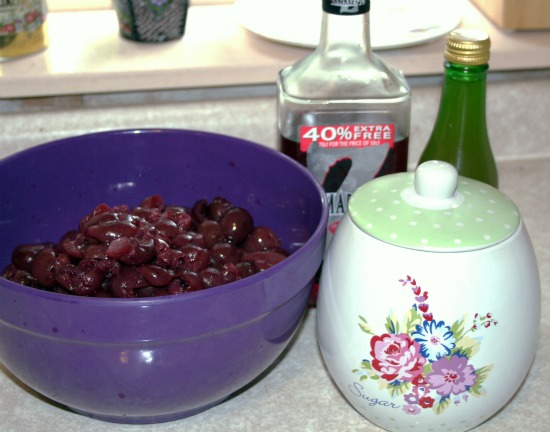
1.4kg cherries, stoned
Water to cover
1.4kg sugar
2 tbsp liquid pectin
3tbsp cherry brandy optional {I used cherry amereto, but cherry brandy or a liqueur would work just the same}
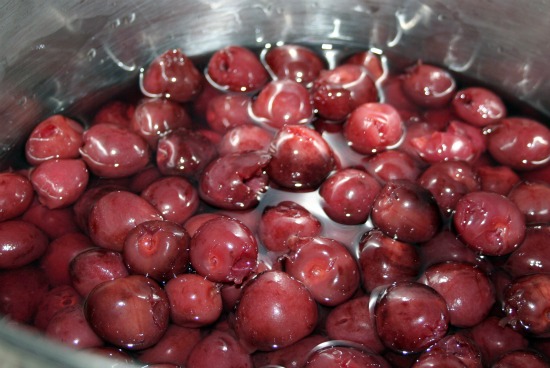
Step One
Place cherries in a large preserving pan, and add enough water to just cover the fruit. Simmer for around 15 minutes. At this point, if you prefer totally smooth jam, you can liquidise the cherries and water, or just mash the cherries up a bit if you like lumps!
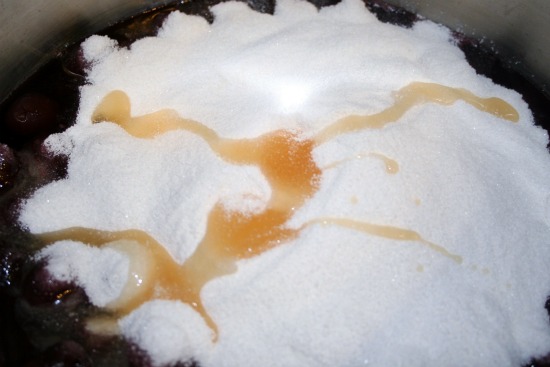
Step 2
Add the sugar and the pectin, bring the jam to a rapid rolling boil, stirring very occasionally, until setting point is reached. To test for setting point, drop a teaspoonful of the jam onto a chilled saucer, place in the fridge for 2 minutes, if the jam has the right consistency and wrinkles when pushed with a finger, it’s ready. If not, return to the heat and boil for a bit longer.
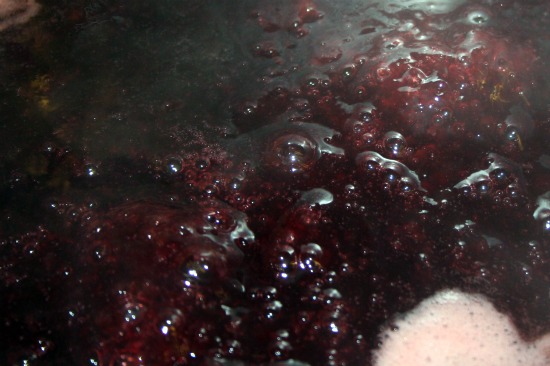
Step Three
When the jam is at setting point, skim off any scum from the top, and stir in the cherry brandy if you’re using it, then funnel into clean, sterilised jars. To sterilise your jars, place both jars and lids, upside down in a cool oven (140C) for 15 minutes, fill while still hot.
Step Four
Last time I tried to make jam, the first batch didn't set and the second lot went like glue! This post however is going to make me attempt it again!!! Cherry jam FTW! :-) X
ReplyDeletemine turned out quite runny, if it doesn't set, tip it back into a pan andbring back to the boil for 5/10 minutes
ReplyDeleteThis sounds so delicious! I love jam, especially in Winter. :) Oh and on Twitter, I read that you're sick! :( I'm so sorry. Feel better, miss!!!
ReplyDeleteOh Polly this looks so yummy! And I have been craving cherries lately. I wanted marachino cherries only to find Denmark doesn't have them.
ReplyDeleteIt the sterilizing the jars part that scares me not the actual making of the jam.
ReplyDeletei bet this is so good!
ReplyDelete