

nothing beats homemade decorations to hang on your tree {and they also make fantastic gifts for the kiddos to give their grandparents ;) } every year we make one or two new decorations, building up mementos of our family to look back on one day when the girls have grown. they look beautiful hanging together with my grwoing colelction of vintage ornaments.
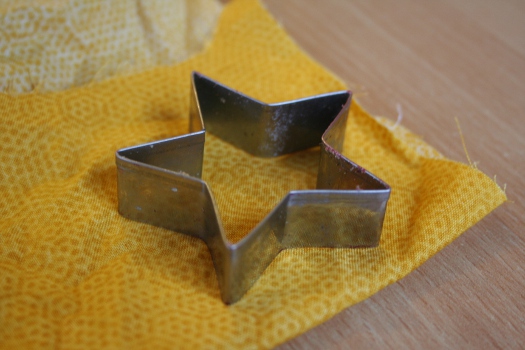
Lola wanted to make some stars to hang on the tree so we raided my fabric scrap stash and button jar and this is what we came up with! Other than fabric and buttons, you'll need a star template {we used a cookie cutter}, thread, needle, stuffing and some yarn.
Step One:
Draw around the star template - you'll need two for each star. Cut out all your stars {I folded my fabric in half, drew round and cut the two out together}

Step Two.
Sew a button onto the right side of one star from each pair.

Step Three.
Start sewing each of the pairs, wrong sides together. When you've nearly got all the way around, push a little stuffing into the middle, you might need to use a pencil to help.


Step Four.
Finish sewing round the edges, then attach a loop of yarn to the end of one point to create a hanger.


And you're all done!


*************************************************************
*************************************************************
So pretty! I love the vintage fabric.
ReplyDeleteThese are so beautiful! Love it x
ReplyDeleteThese are great for kids indeed, and that fabric is really pretty!!
ReplyDeleteSweet and simple. I love things like this! Thanks for linking!
ReplyDeletethanks for stopping by :)
ReplyDelete